The Skirt Assembly
First step is to separate all of the parts from the sheets they were machined from, remove the tabs and flash, if any.![]() | ![]() The skirt ribs were assembled from two pieces of .25 in thick styrene. However, I can no longer get .25 thick styrene so ribs are now printed on my 3D printer. Instead of 24 pieces to glue together there are now just 12 complete ribs ready to use. |
The picture on the above right compares a CNC cut & glued rib (upper, you can see the joint line) to a 3D printed rib (lower). While you can see the 'grain' on the 3D print you don't need to do any additional finishing, those sides get glued onto the skirt body and are hidden. The bottom of the rib is against the glass bed of the printer and comes out smooth! | |
![]() |
As with the frame parts, the front of the Skirt Base, also known as Ring 0, is marked with a locator hole. The hole will be covered up by the riser that goes in the slot above it, but will be visible from the underside of the assembled skirt. The other (partially drilled) holes mark the locations for the ribs to be placed, at the end of the assembly process. (see below) |
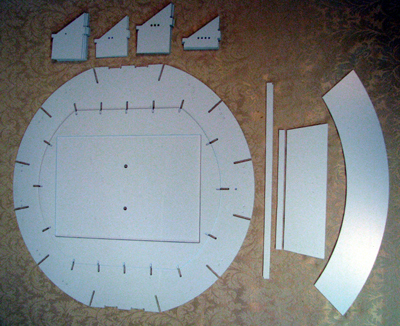
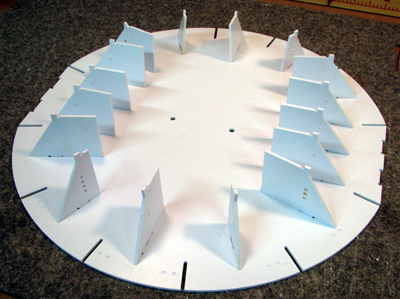
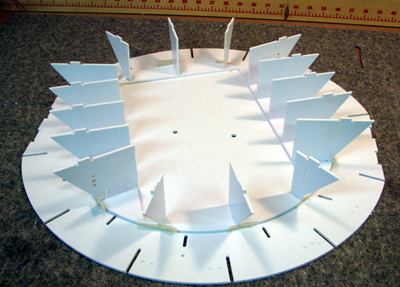
![]() familiarize yourself with the parts. do a trial fit of the risers into the skirt base (ring 0) | ![]() 
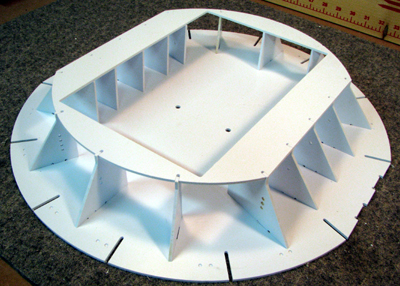
put the skirt bottom in place verify the fit as well |
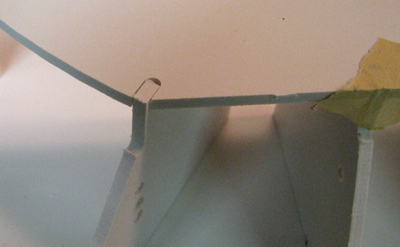
![]() note that riser c has to be chamfered. this can be done before or after you glue things in place. it's up to you. right: edges of riser after chamfering. if you want a stronger bond you can glue pieces of scrap styrene to the edge of the angled part of the riser. | ![]() |
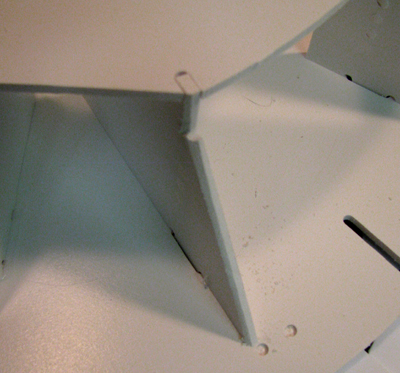
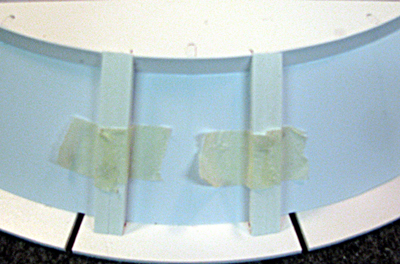
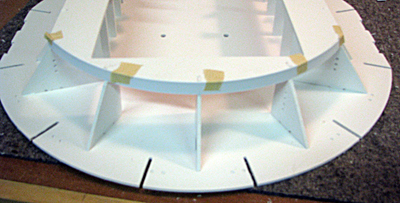
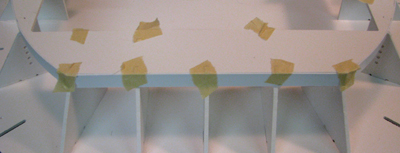
![]() you have a choice depending on how you like to work. tape the risers so that the edge is flush with the skirt bottom. you can do it before or after you apply the glue. | ![]() 
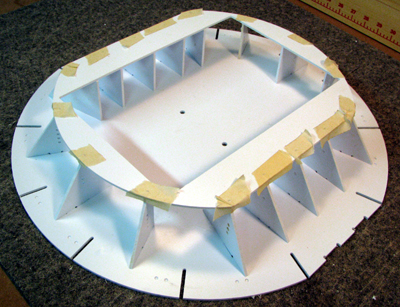
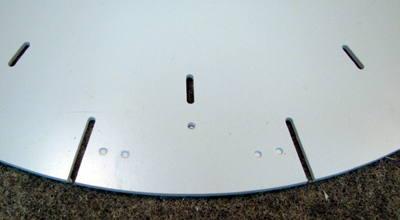
tape all of the risers so they stay in alignment |
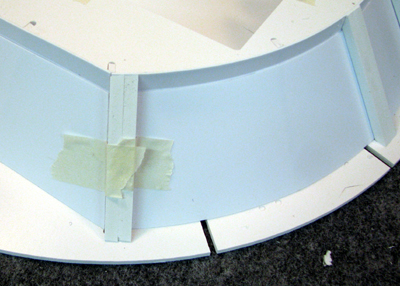
![]() when the glue sets check the alignment. make sure the risers are square and flush with the edge of the skirt bottom. reassemble to the skirt base and glue in place. | ![]() 
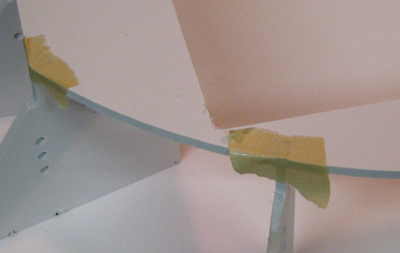
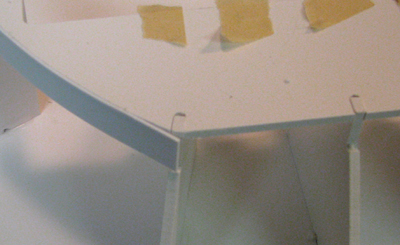
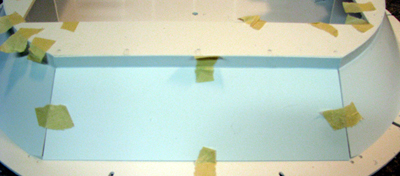
only glue the curved side piece to the 3 center risers. do not glue to the end risers. those ends will be glued when you glue the straight side pieces in place. |
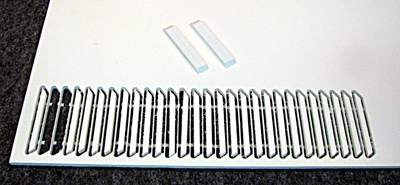
![]() all of the .040 pieces have been left slightly over length so they can be trimmed to a precise fit. trim the end of the curved piece and the straight side piece it mates with. | ![]() 
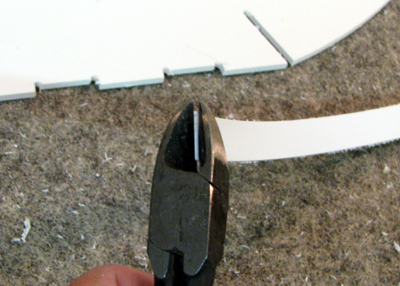
I find it easy to trim pieces like this with a diagonal cutter. |
![]() glue the straight side piece in place and let the glue set. | ![]() 
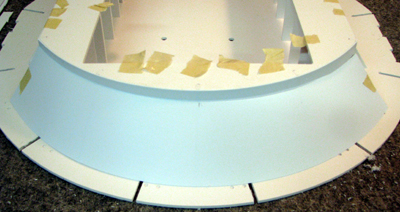
trial fit the cone shaped side. note the pencil mark for the center. like the straight side piece, only glue to the 3 center ribs. leave the ends loose to fit and glue with the angled side pieces. |
![]() first trail fit the angled side pieces. trim the ends as needed so that everything comes together neatly. right: once you are happy with the fit, glue the angled sides to the risers and glue the miter joints on the end. | ![]() |
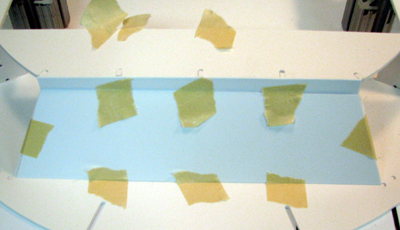
![]() start in the center and glue the two center ribs using the location marks in the skirt base. (see above). I didn't put location marks for the tops of the ribs. there are already too many riser holes that you are going to have to fill in. note the pencil marks as guides | ![]() The end ribs line up with the miter joint between the curved and angled piece. once the end rib is in place, use the location marks to place the bottom of the remaining ribs. measure the top spacing. make it the same distance apart as the center ribs. it's easy to get wrong. so put in a pencil mark for that space too. |
Home |