[8 if cut from .125 thick styrene]
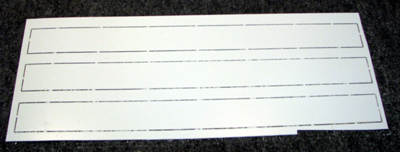
below: there are 2 .040 edge strips (3 shown here)
The Fixed 3-Leg Shoulder Assembly
(Original Design)
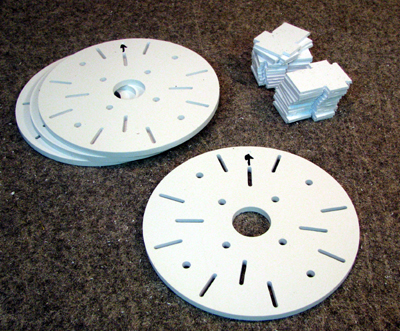
First step is to separate all of the parts from the sheets they were machined from, remove the tabs and flash, if any. |
Left: There are 24 shoulder risers and 4
shoulder plates [8 if cut from .125 thick styrene] below: there are 2 .040 edge strips (3 shown here) |
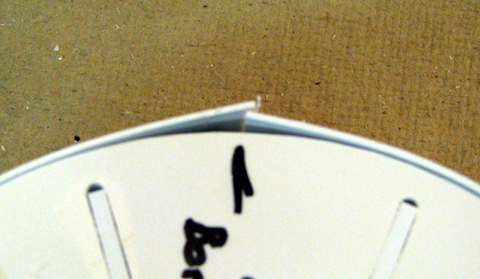
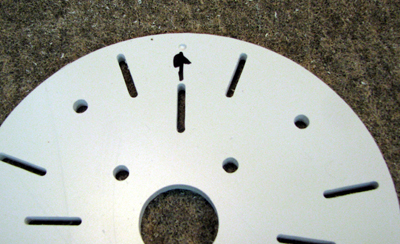 Each shoulder plate has a locater hole that marks the top of the droid's shoulder. while the plates have a symmetry it's convenient to orient them all the same direction. |
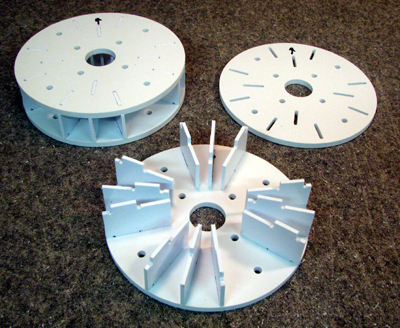 test fit the shoulder risers in the plates. once happy with fit apply glue to top & bottom of risers and finish the assembly. make sure the locater holes are lined up |
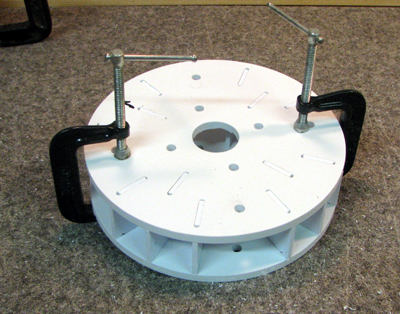 clamp while the glue dries. 4 clamps would be better than the two shown. |
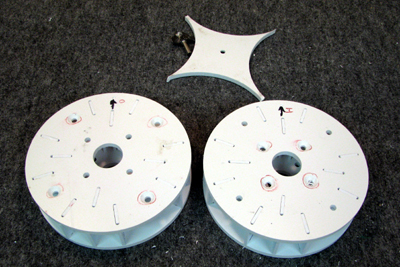
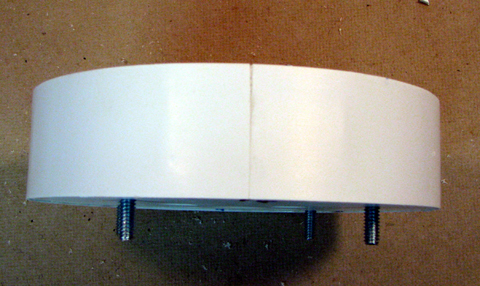
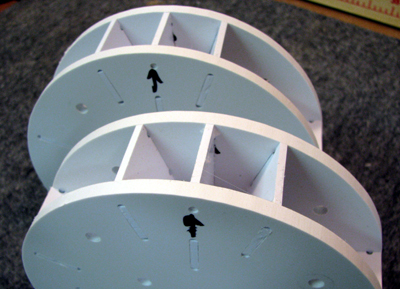 At this point you've finished gluing two shoulder hubs. |
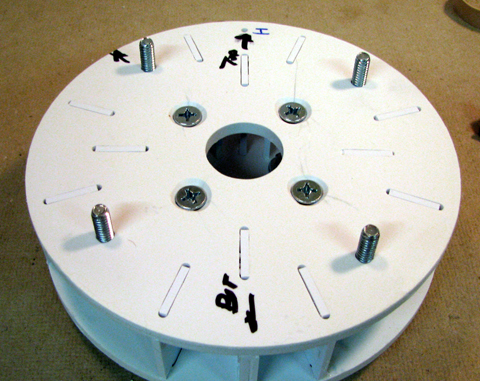
 line up the hubs so that the locater holes are in the same directions |
 mark the edges o (outer) - i (inner) - i - o |
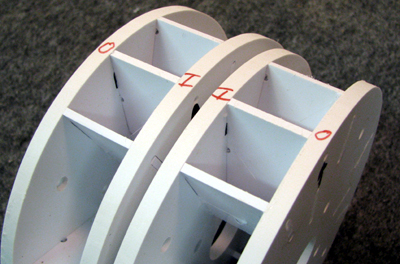
 Transfer the marks from the edges to the surface and then circle either the inner or outer set of holes |
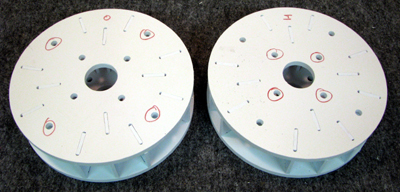 Turn the hubs over and do the same to the other side |
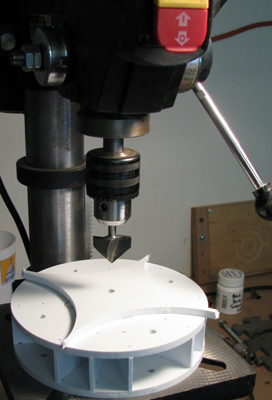 Use a piece of 1/4 inch scrap styrene on top of the hub. |
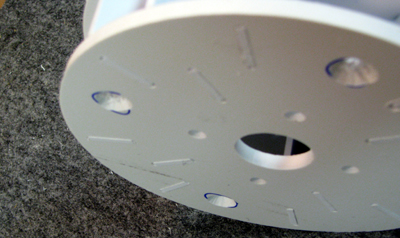
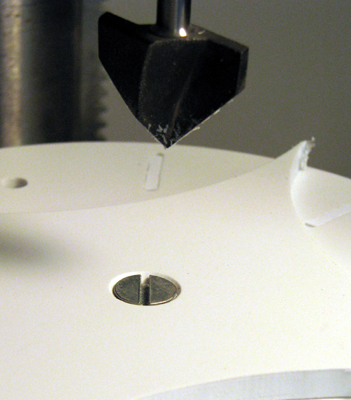 Drill the countersink till the head is below the surface |
 Using the scrap as a guide, set the drill press depth gauge to the depth of the countersink |
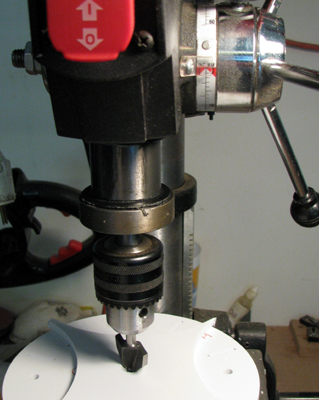
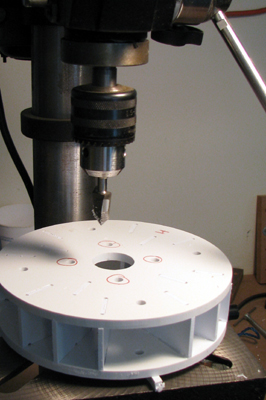 With the scrap now under the hub, drill out the holes you marked on each side of the hubs. |
 |
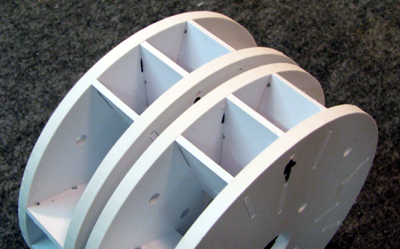
 The shoulder risers might stick up slightly. Since you want all of the hub surface in contact sand them down. |
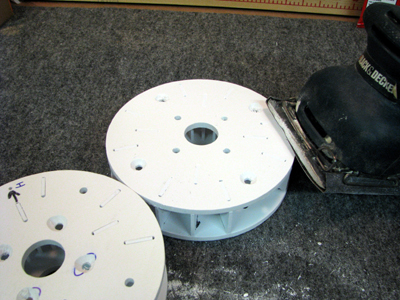 |
left: I use a 1/4 sheet palm sander to sand
my hubs below: edges are now smooth. 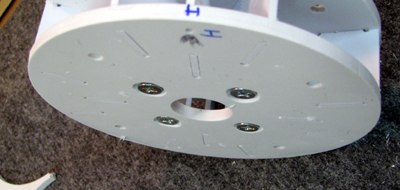 |
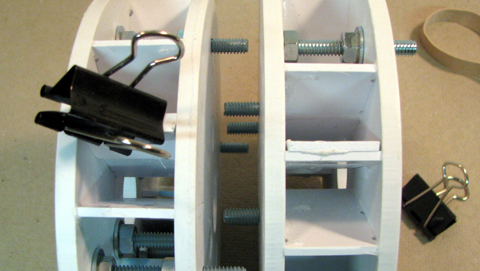
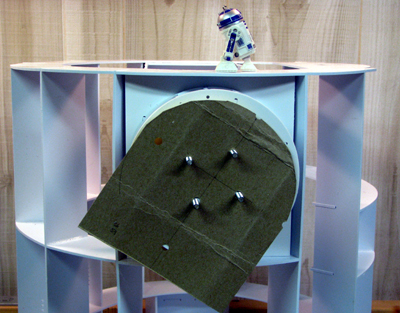
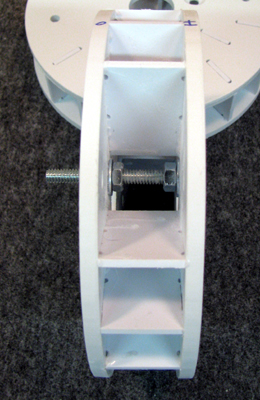 install a pair of washers & nuts on each edge. Start from the inside. |
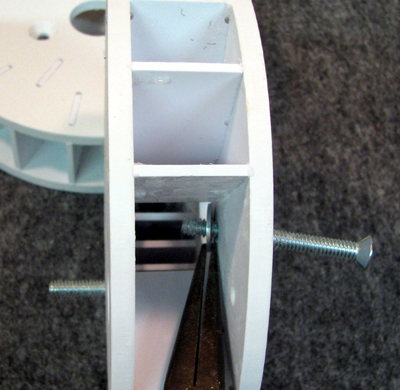 If you don't have a Jr Jedi with small fingers to help a pair of needle nose pliers can be useful. |
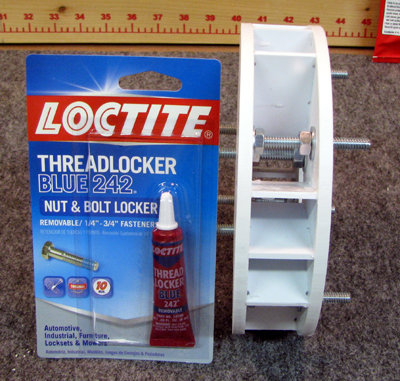 Don't forget to use something to lock the nuts in place. (Loctite is only a suggestion) |
 redo the marking for top, add a mark for bottom add a third mark about 1/3 of the way around from the bottom. |
 glue a piece of scrap styrene at the bottom point to double the thickness where the edge joint will be |
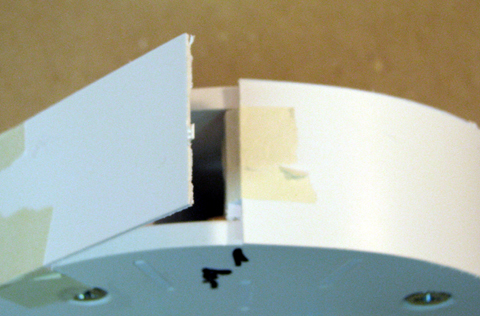 Wrap the edge strip around. It's deliberately oversize. start in the middle of the double thick rib you just made. |
 glue the edge strip on up to the 1/3 point marked earlier. put glue on both the edges and the ribs |
 Once the glue on the first 1/3 is set trim the end of the edge strip so it fits tightly. glue the remaining 2/3 of the edge striip in place. |
 the joint will be
on the underside of the shoulder hub the joint will be
on the underside of the shoulder huband hidden behind the leg |
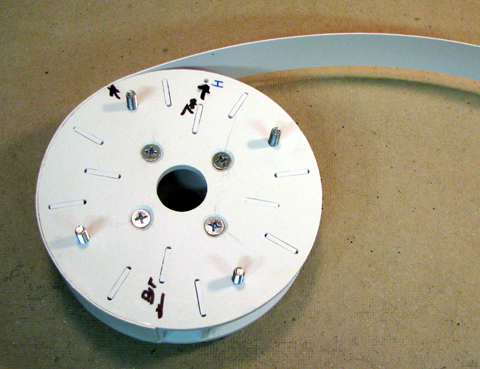
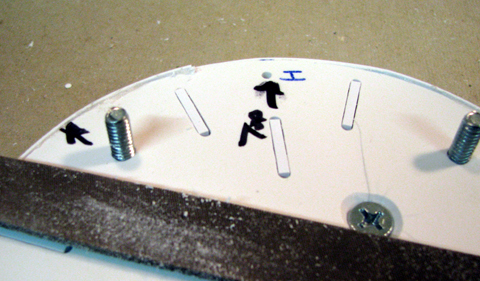 I used a flat file to trim off the excess width on the edge. |
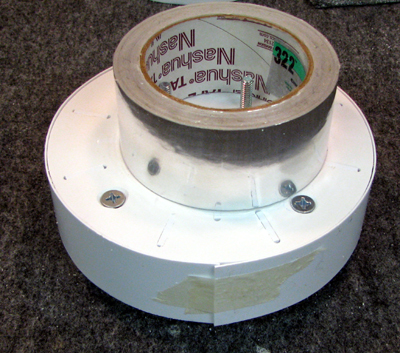 |
It's been suggested that foil tape makes a good finish. Shown here is a roll of tape used for sealing HVAC joints. Don't want to cut your own? You can try this parts source. |
| Home |