
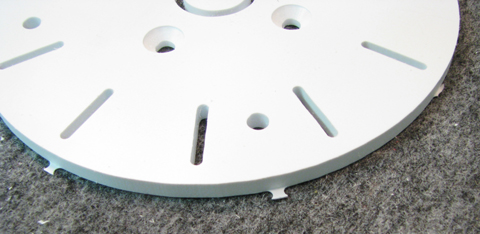
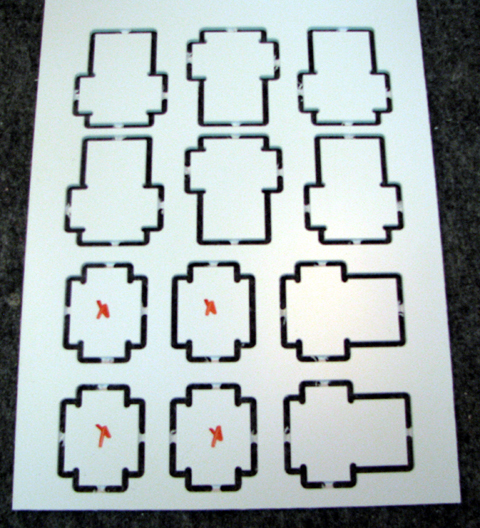
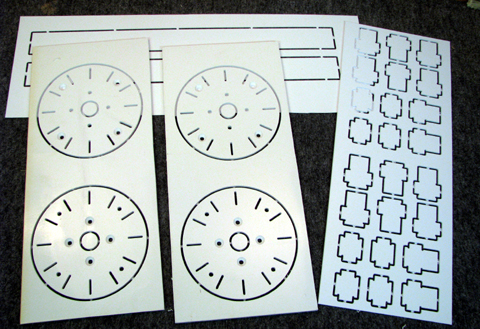
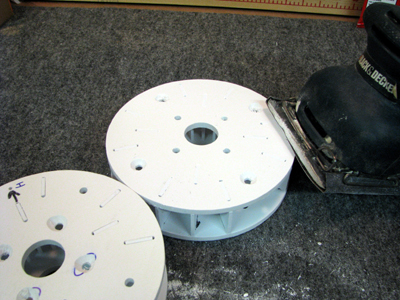
Separate the shoulder plates from the panels. The .25 styrene
is rigid enough that they can be pop'd out with a little pressure.
the risers will have to be cut as the .125 styrene is flexible
and the tabs will not snap. Each panel is a pair. Don't mix them.
|
CAUTION
those little tabs are
sharp and just like the knives on
a blender. cut them off
right away! |
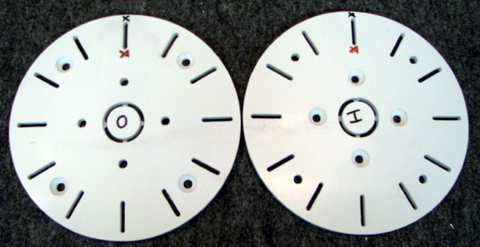
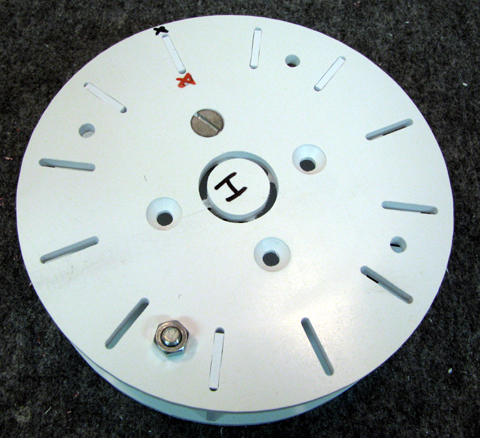
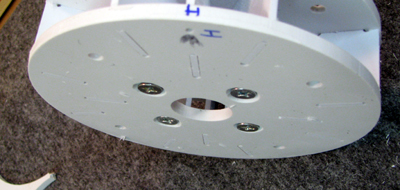
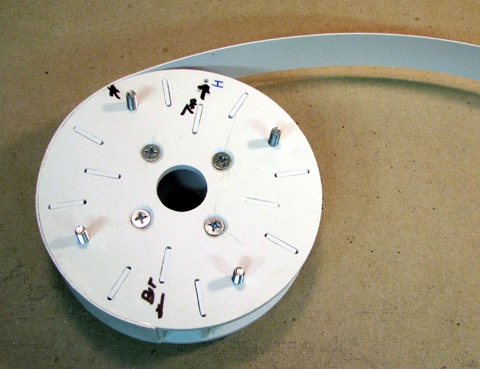
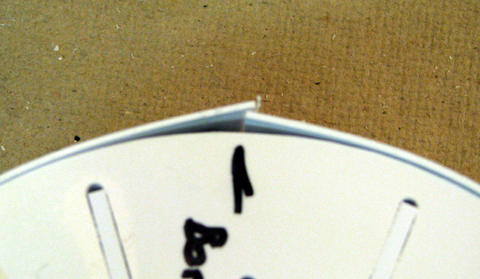
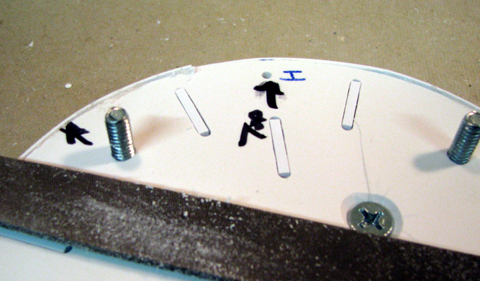
The plates are symmetrical. Pick one of the slots that lines up
with one of the center bolts and mark that as "top". Also mark
inside (countersinks in center) and outside (countersinks on edge)
|
Turn the plates over, again mark inner/outer (it's not obvious
from this side!), "top" and the other 3 slots that line up with
the inner bolt holes.
|
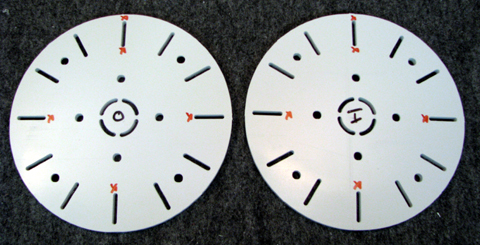
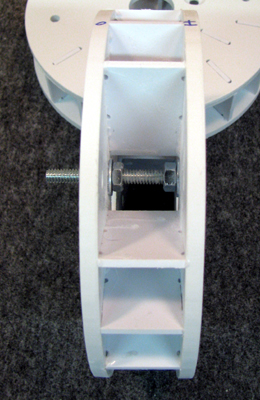
mark the short risers, either before you cut them out
or after. |
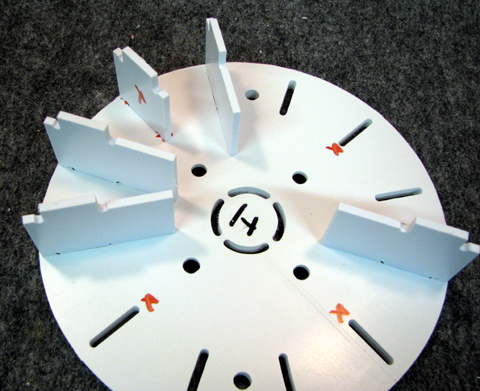
Test fit the risers in the plate.
note the short risers
(marked) go into the slots that line up
with the inner bolt holes
(also marked).
Yes, you can put a long riser there, but it will
interfere with
the bolt later on so don't mix them up when you glue! |
 |
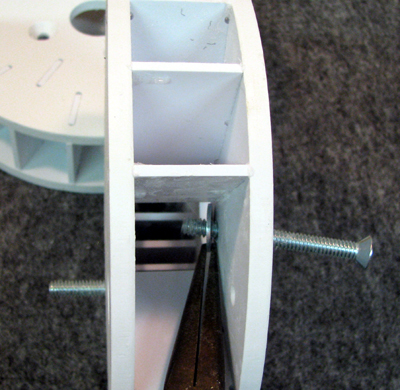
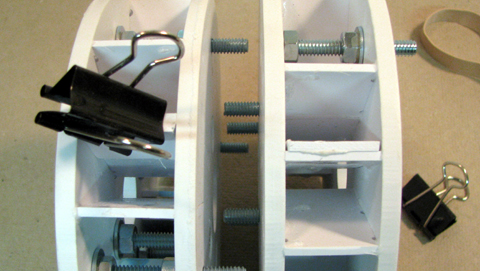
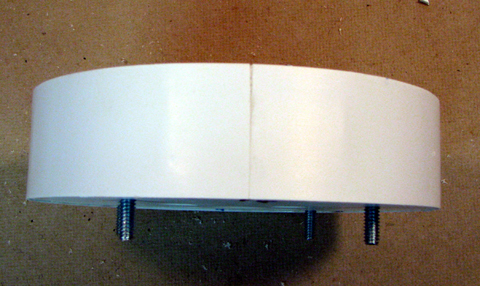
Left: Put
a set of bolts thru the holes to make sure everything
lines up. It also helps by verifying you've got the countersinks
on the outsides!

Above: Here's an edge view of the test fit shoulder. It's a
little tight getting access but I didn't want to leave the
short risers out.
|
At this point you are ready to glue up the shoulders. My suggestion is to do one side at a time as follows:
Remove the nuts, but leave the bolts in place.
lift off the plate that's on top (doesn't matter if it's inner or outer).
One at a time, remove a riser, coat the mating edges of the riser with glue and re-insert in it's slot.
make
sure the riser is as far to the outside of the plate as it will go. the
outside edge supports the .040 wrap that goes on later.
It's ok if it sticks out a hair, you can always file it down after the glue drys.
Replace the plate you removed earlier and bolt together. Set aside till the glue drys.
Again remove the nuts, but leave the bolts in place.
Take off the plate to be glued.
Carefully run a bead of glue on the surface of the all of risers that contact the plate.Work quickly as the glue will run.
Replace the plate, and bolt together. Turn the assembly over so that the plate being glued is down.
You can reach in and add glue to the area where the riser and slot meet..
Set aside till the glue drys. |

 glue a piece of scrap styrene at the bottom point
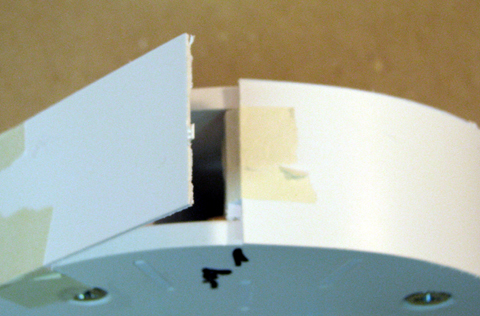

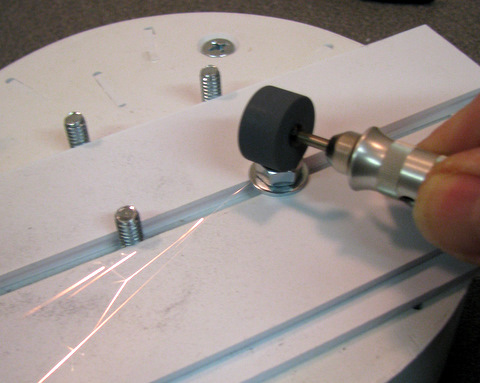 There are lots of tools you can use to trim the nuts. I choose a dermel grinding tool.
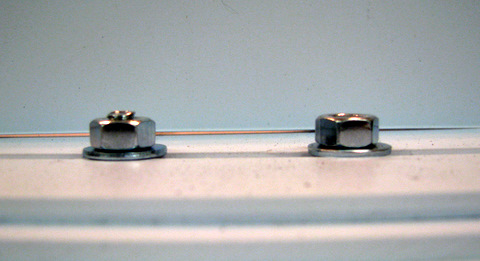 Above: Before and after trimming. Watch out for a thin edge at the top of the bolt.