The Eggcrate Center Ankle Assembly

First step is to separate all of the parts from the sheets they were machined from, remove the tabs and flash, if any.
Below: the .125 thick components
Right: the .220 thick components
These used to be .250 panels, but you can't get .250 anymore.
To make up the difference a .125 panel was added
.
4x.25 = 1.0    4x.22 = .88 + .125 = 1.005 


the .125 panel goes in between the two sets of .22 panels

and forms the core of the channel that guides the bolt
The balance of the assembly instructions were written before the change to .220 stock and show only 4 parts in the center core.

the skins

Here's how the barrel nuts fit into the ankle plates.
A note on the hardware used.
The hole for the Barrel Nut (also called a Dowel Nut) is 3/8 dia (nominal). It's threaded to take a 1/4-20 bolt (and the slot the bolt rides in is sized for a 1/4 in bolt). The center line of the Barrel Nut is 1.25 in from the edge of the ankle. There's a .5 inch additional space for the end of the bolt. In the pictures here I'm showing a 2 in 1/4-20 bolt. That's more than long enough to anchor into the 3/8 of plastic sheeting on R2's bottom.

I used "The Hillman Group 1/4 x 3/4 Plain Steel Standard (SAE) Barrel Nut"
I got mine at Lowes - Item #: 137369 |  Model #: 880544

Next steps will be to dry fit the parts together.
missing rings only pix

The design of the end ring, shown here, has changed. The drawing set has the new design.

I've added a pair of tabs along the bottom edge to prevent the problem shown here

Once everything is glued in place you will have to file the extended edges to fit the contours. The filed edges will give better support to the skins.

Let's Get on with the assembly process. We start by laminating together the 4 .250 center panels.


Use the two barrel nuts and a 3/8 bolt for alignment
Use lots of glue and clamp securely.

It's important to get a strong joint.

Repeat for the two outer pieces.
Make sure the slots are on the outside!

Clear out the holes if any plastic has oozed out.

Insert the two barrel nuts. Use a small Phillips screwdriver to line up the holes.

Screw in a pair if 1/4 inch bolts.

Since the ankle can be removed I like to lock the barrel nuts in position. I use silicone glue. It stays flexible. Put some on each side of the barrel nuts.

Next we'll glue the rib and ring assemblies in place.


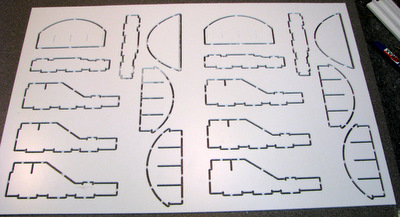
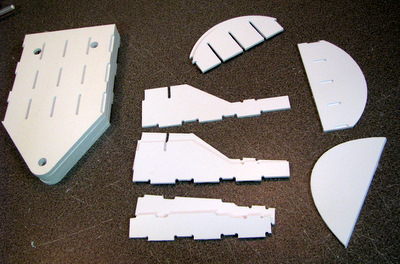
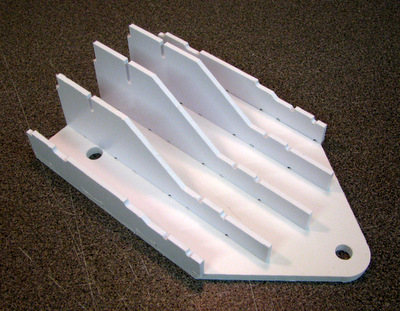
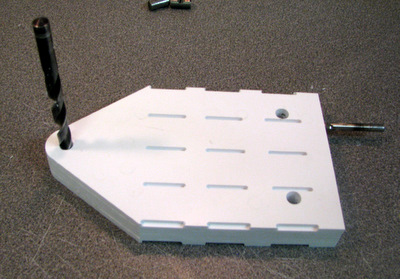
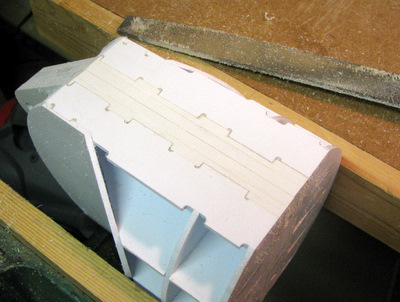
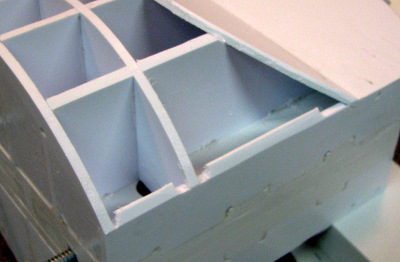
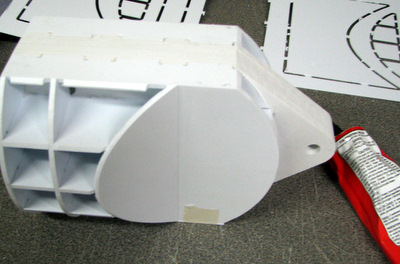
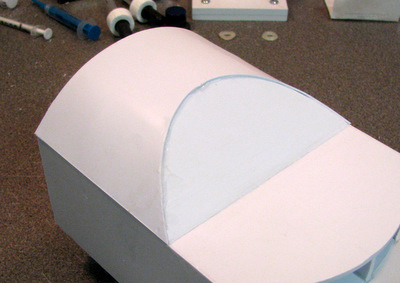
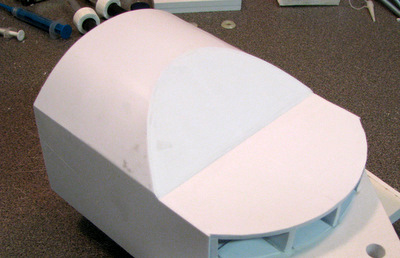
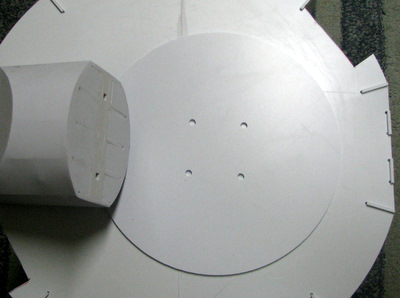
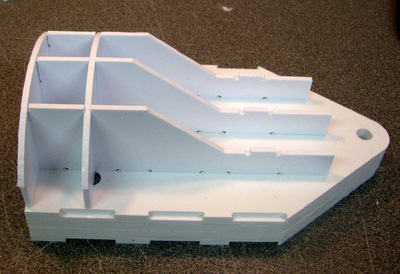
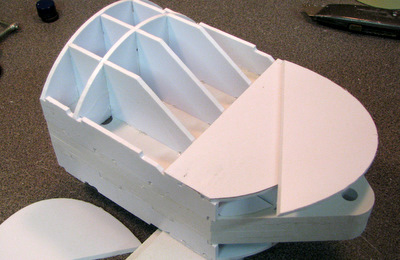
Dry fit the ribs and rings to get a feel for the fit

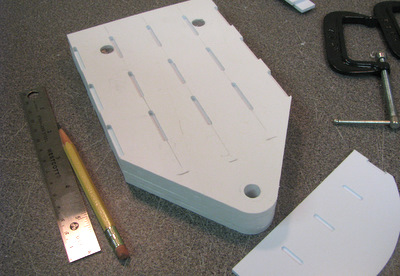
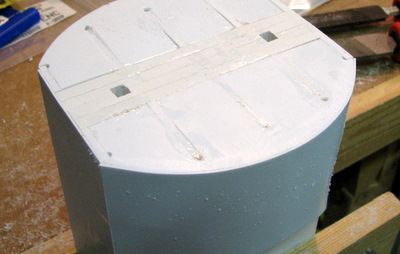
Mark the location of the ends of the ribs. Draw glue lines.
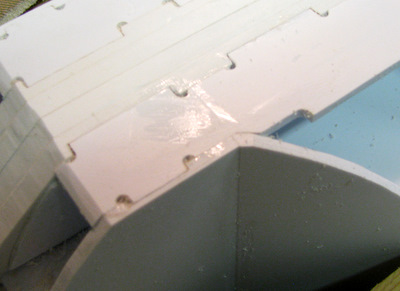
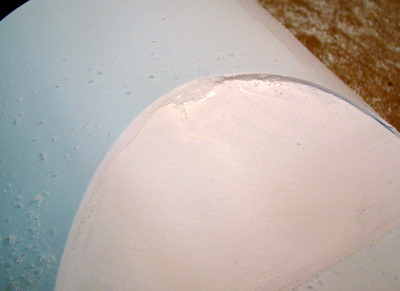
Apply Glue.

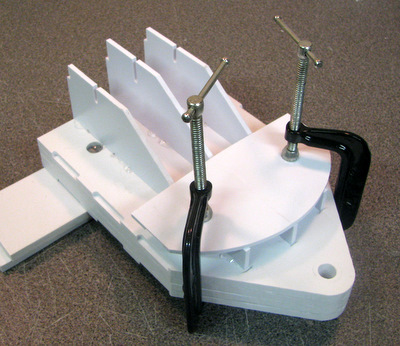
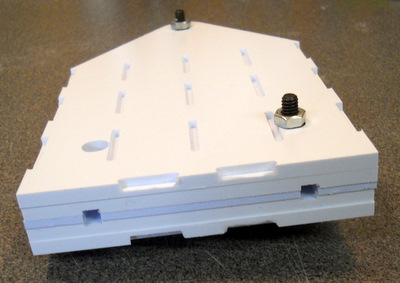
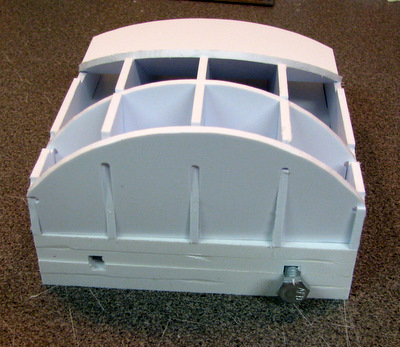
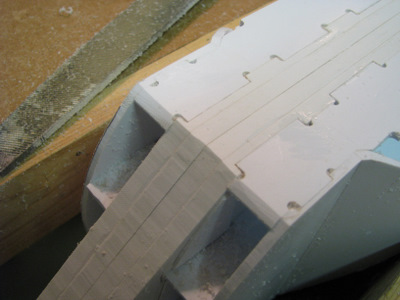
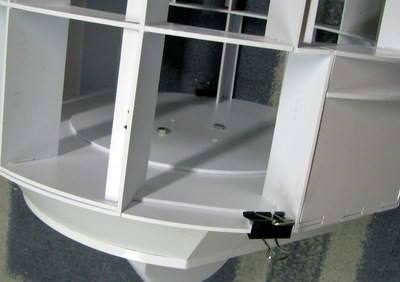
Use the curved shelf to clamp the ribs in place.

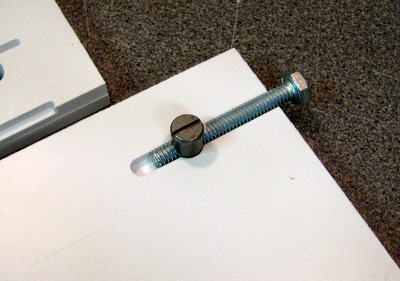
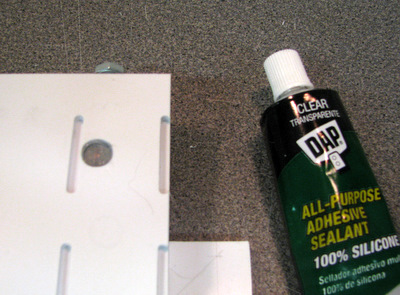
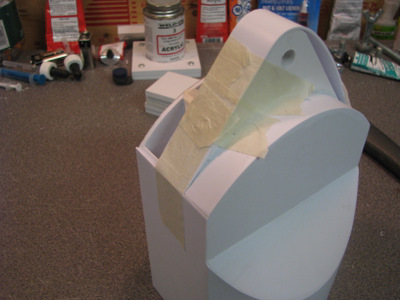
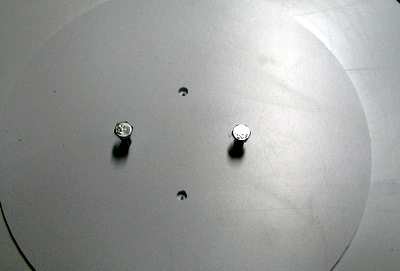
I used magnets on a steel plate to hold the end ring in place. Tape will also work !
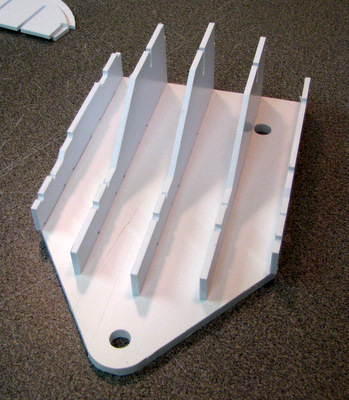
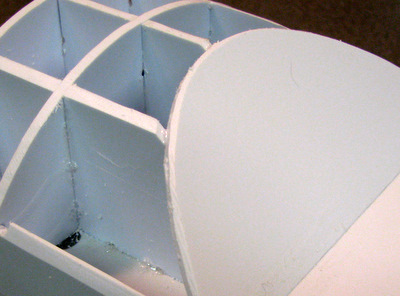
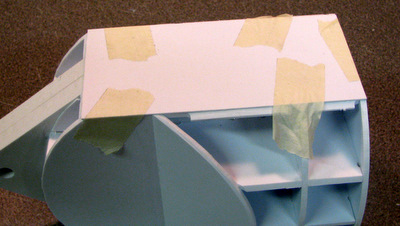
Right: draw glue lines for the center rib


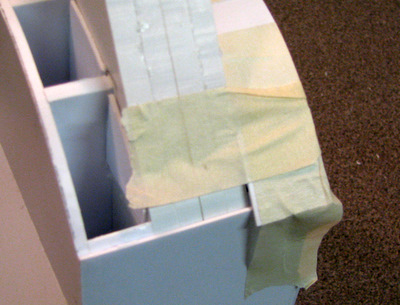
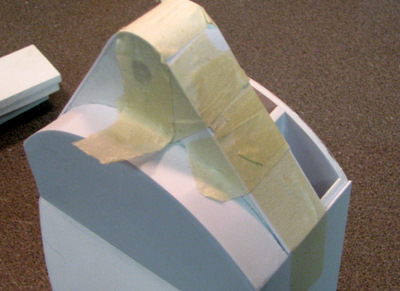
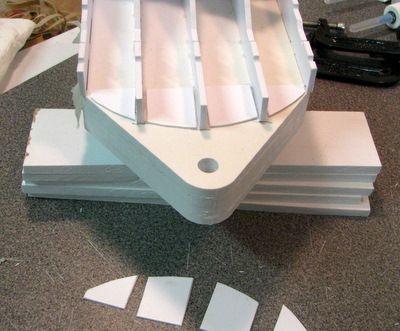
Glue and tape in place while the glue dries.

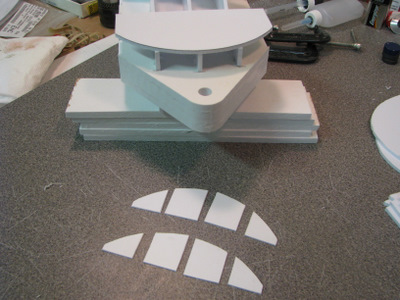
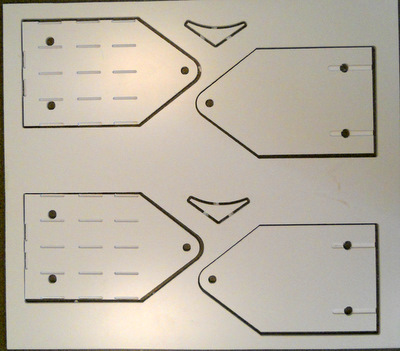
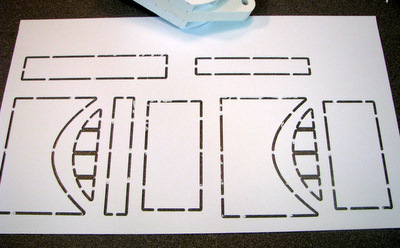
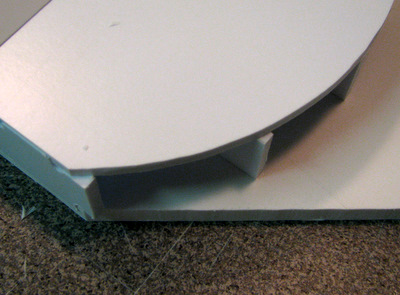
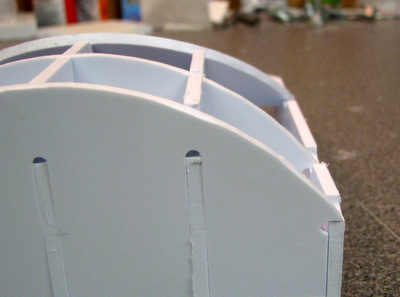
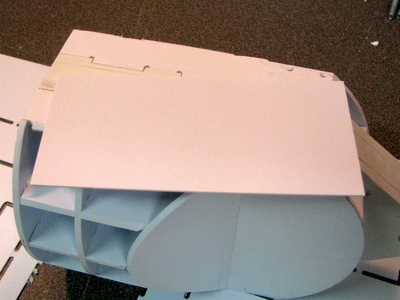
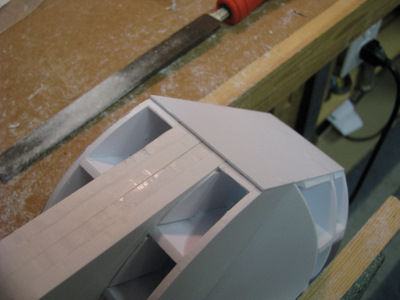
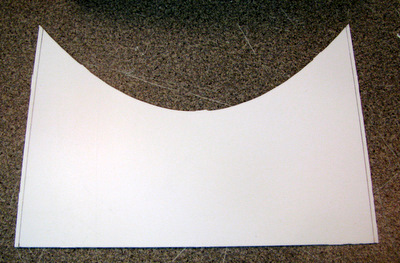
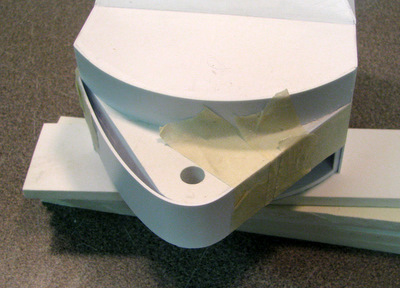
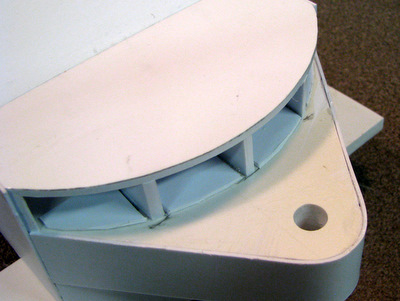
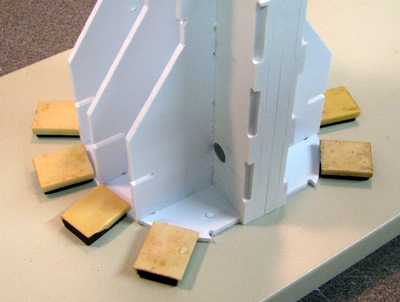
These parts from the skin sheet will be used to provide a bottom 'edge' for the curved skin to hold onto.
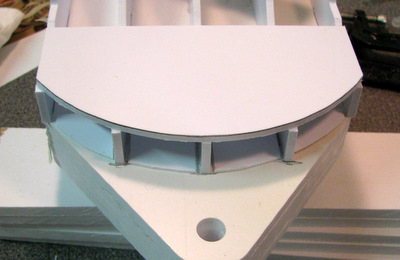
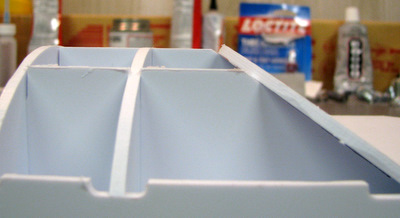
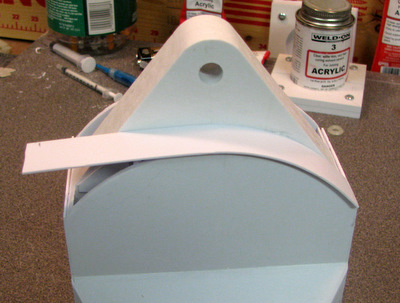
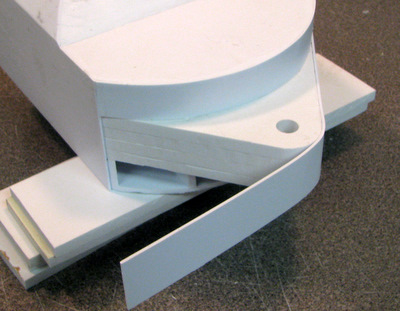
Use the curved shelf to align the parts then glue in position. A smart builder would have traced a line using the shelf BEFORE the ribs were glued in place.

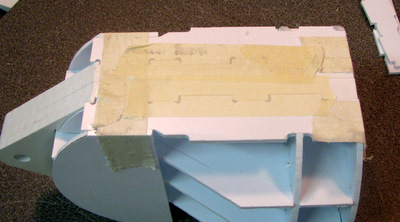
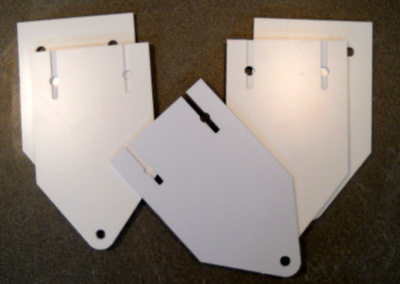
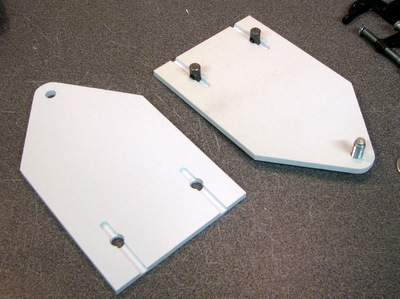
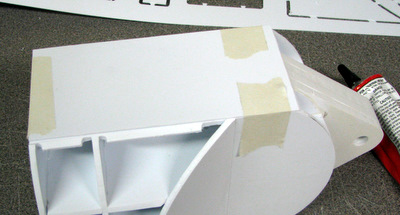
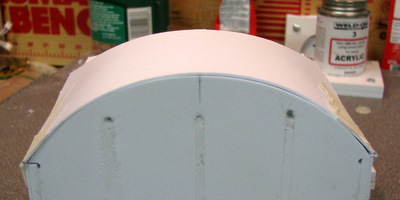
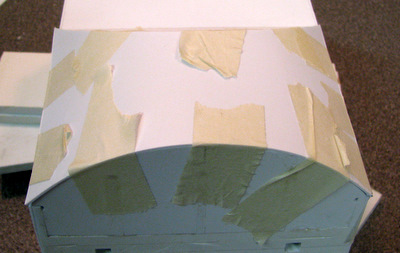
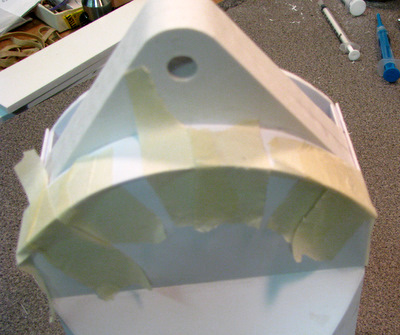
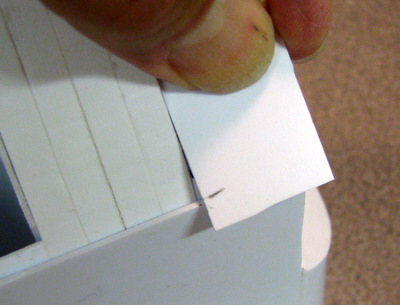
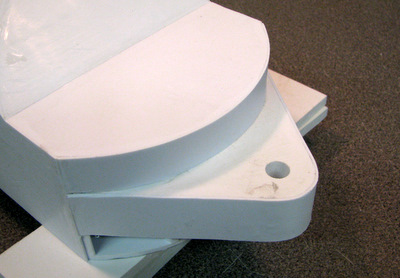
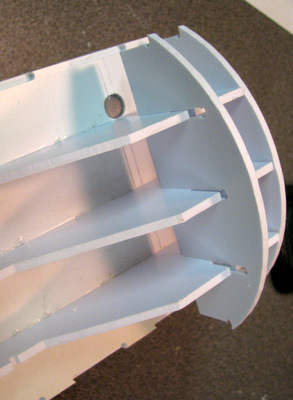
Left: locate and test fit the edge pieces.

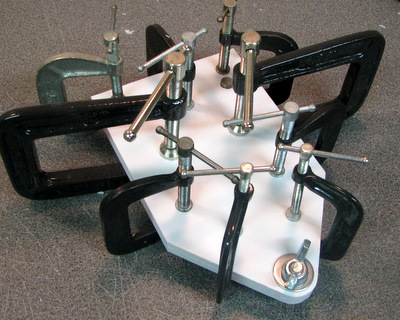
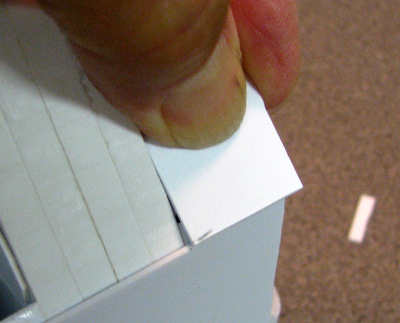
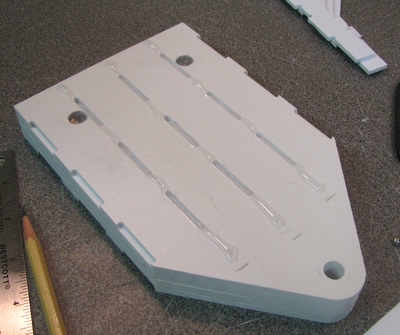
Above: Apply glue, and tape in place till the glue sets.

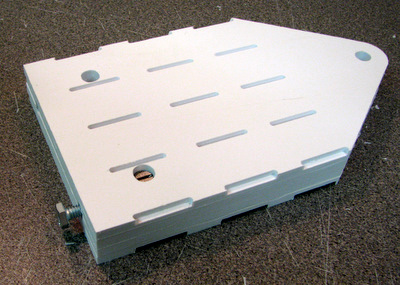
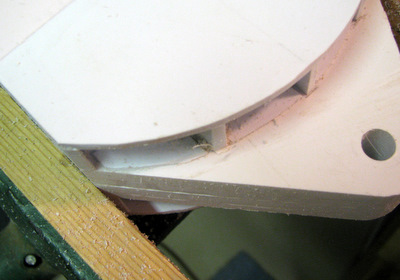
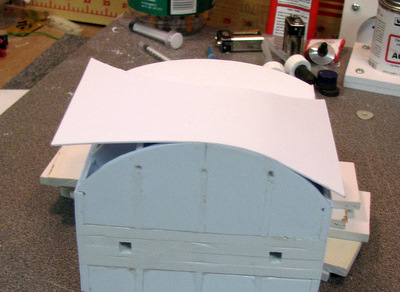
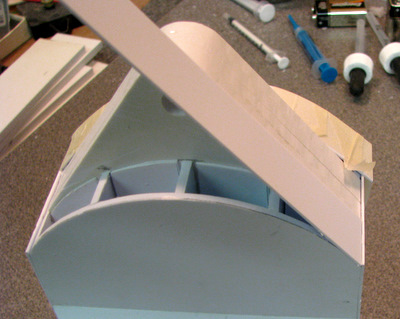
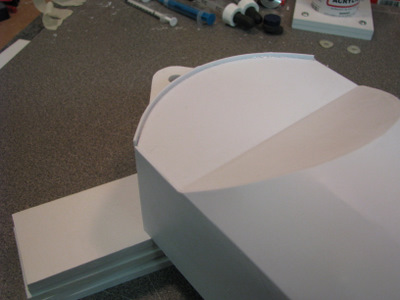
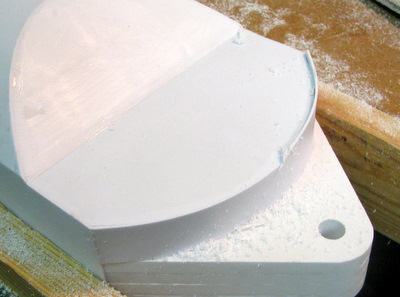
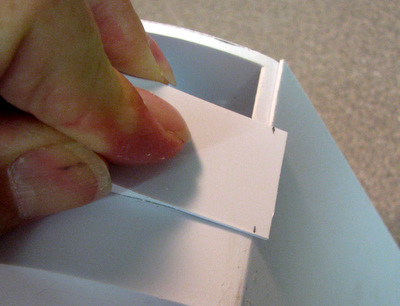
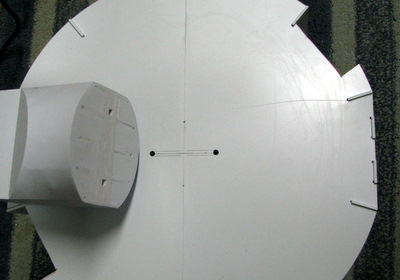
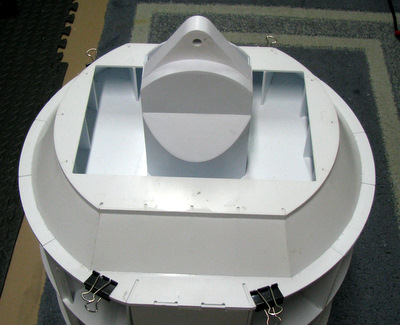
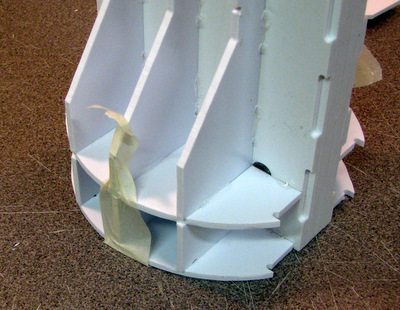
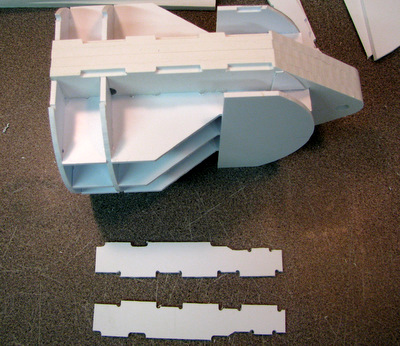
The last piece to go into place is the angled end piece.

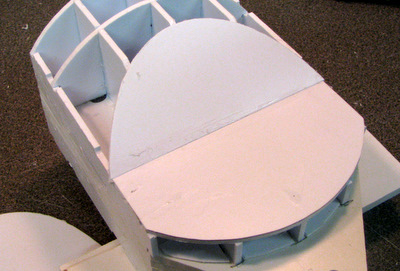
It's slightly wider than the ankle. Center it when you glue it.

Now that the major structures for the Center Ankle are glued in place we'll file the edges into shape and apply the skins. Take your time with this step. I tend to use a coarse file because it does not get clogged easily but it also removes plastic quickly. It's easy to remove too much!

I'm using a woodworking vise to hold the Ankle

Start by filing the edge on the curved end piece flush with the side.

File the ends of the edge pieces to match the angle of the center part.

Use a file with a 'dead' (smooth, no teeth) edge to file the ribs.

File the tabs that stick up on the edge pieces to match the curve.

File the curved part of the angled end piece to bring it in line with the ribs.

Final steps in the assembly process will be to fit the skins. Most of the pieces are cut oversize and meant to be trimmed to fit.

Left: Except for the side piece, which is cut to the width of the ankle to provide a line for the curved skins.
Above: Glue in place, Center it on the side.

Turn the ankle, using it's own weight, while the glue sets.

Then glue the other side in place.
When it's finished there will be an edge at the bottom of the side skin that we'll use later on to hold the bottom skin pieces in place while we glue them.

Next we'll work on the curved skins.


Dry fit the skin piece to get a feel for how it will fit. Mark a centerline on the back of the ankle and one on the skin. Transfer edge marks to the skin for trimming.

Only an overconfident builder will trim BOTH sides. DON'T make this mistake! Trim one side ONLY. Trim the other after gluing the trimmed side down.

There's tape all over, but there's only glue down the center and on the first rib to the right.

Carefully lift up the skins slightly. Just enough to put some glue onto the next section and work your way to the edges.

Finished curved skin section will be filed so the edges are smooth.

Above: Start at the back (there's not much to file back here)
Right: carefully file down the edge without gouging the surface of the angled end piece.

Left: there should only be a slight edge to smooth down where the curve meets the side of the ankle.
Above: Finished the curved side skin, On to the pieces on the bottom.

There are 3 skin pieces on the bottom of the ankle. One for each curved shelf.  Those are oversize. One for the center piece. Like the side skin at the beginning, that one is cut to exact width. You can fit them in any order, but unlike the order shown here, with 20-20 hindsight, I would fit the center piece first.


Start at one side, glue about 1/2 of the curve down.

Let the rest of the piece hang over the edge

Mark and trim to fit

This will have to be trimmed just a little more.

The piece is oversized.

File carefully.

The center skin piece is already cut to width.

Glue only one side

Then mark and trim the other side

Glue the remainder, making sure it's tight around the bottom of the ankle

There's just a little bit of edge to be filed here

Finished!!!

Congratulations, you've got a completed Center Ankle for your R2!

Now All that's left is to mount it onto your R2 Frame

OOPS! This is what's called an Epiphany. The frame mounting holes are in the wrong places!

I'm providing an additional load distribution plate. Future versions will be rectangular (to fit inside a skirt opening).

Use it as a drilling guide to add the necessary holes.

Then mount it inside on the bottom of the droid.

Center ankle mounted!

There's a 3/4 view of R2 standing on his legs!
The 3rd leg is hidden in this view.


A Foot, A Foot, My Kingdom for some Feet!!
Coming Soon (I know you've heard that before!)
Center and Side feet & Battery Boxes!


Home