The Bent Up Battery Box Assembly
First step is to separate all of the parts from the sheets they were machined from, remove the tabs and flash, if any (except for door frame).
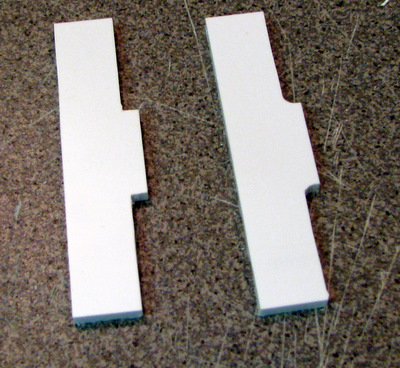
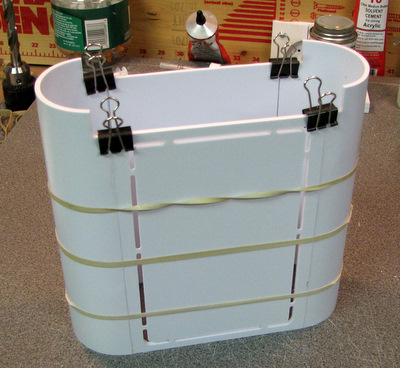
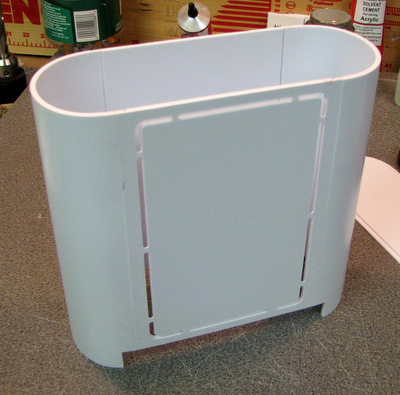
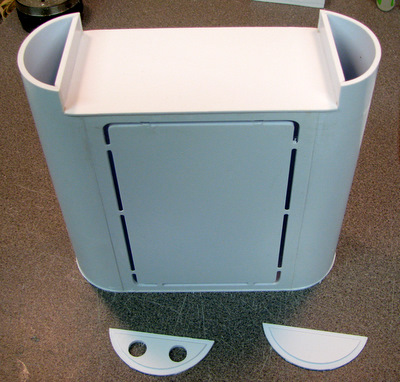
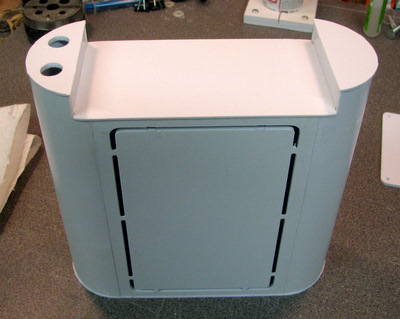
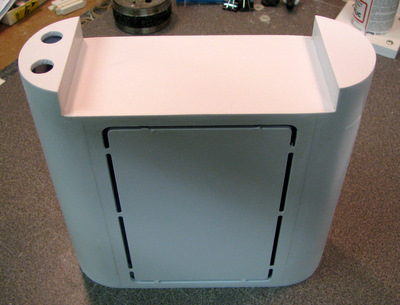
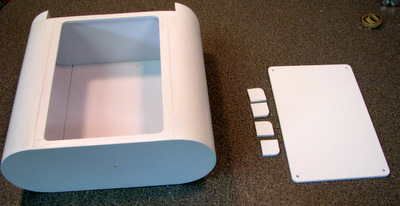
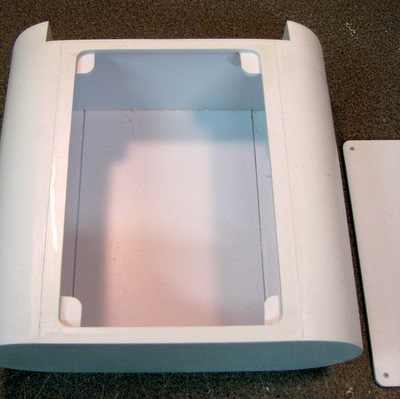
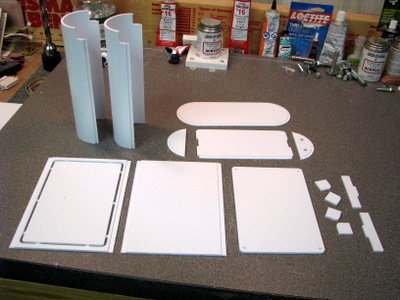
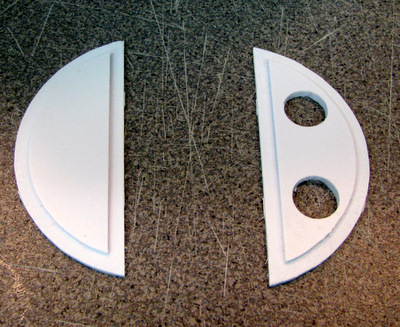
These are the parts, separated from the panel they were cut from |
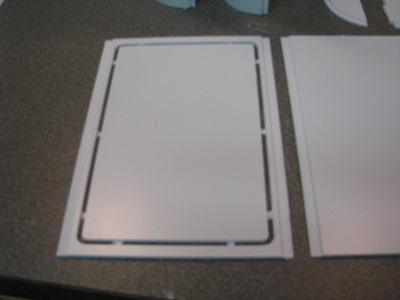
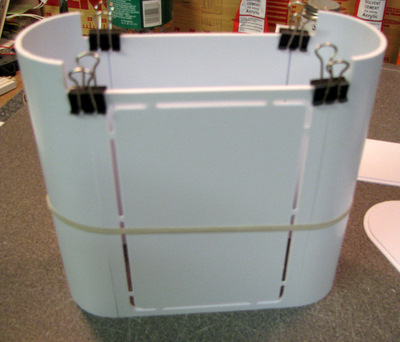
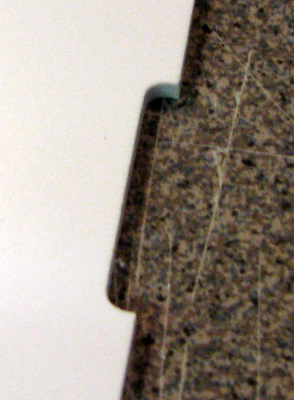
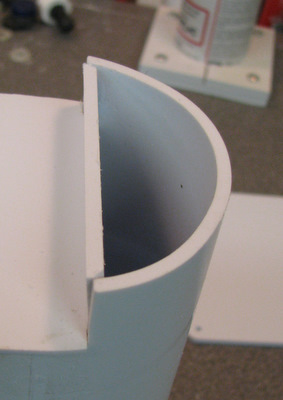
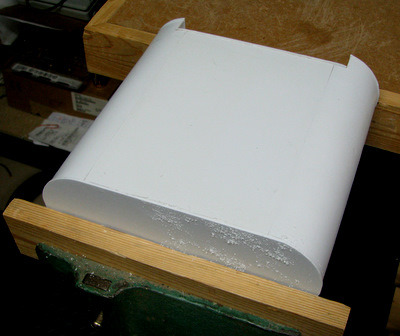
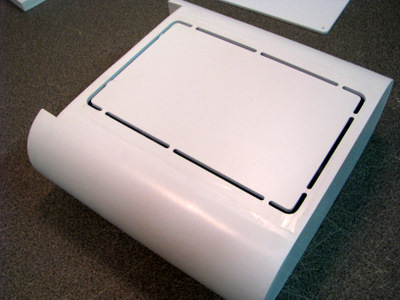
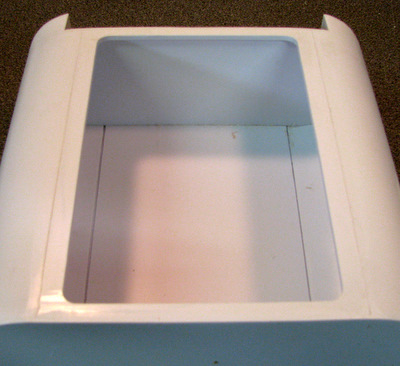
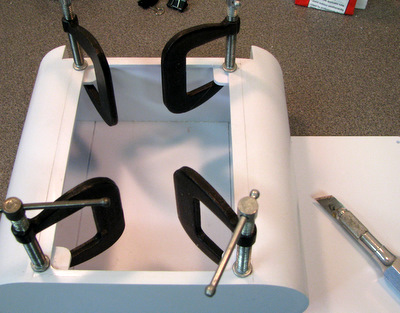
For the moment, leave the door frame attached to the inside piece. It will reinforce the frame wile it's being glued in place. |
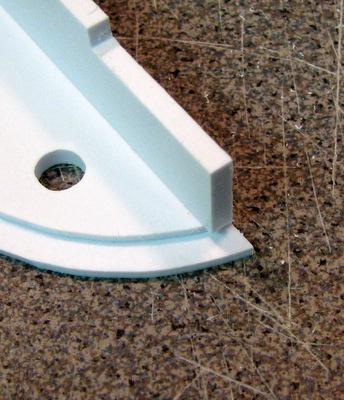
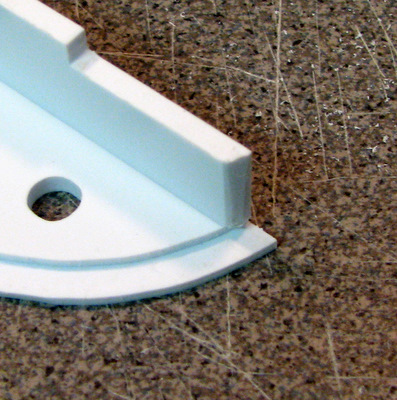
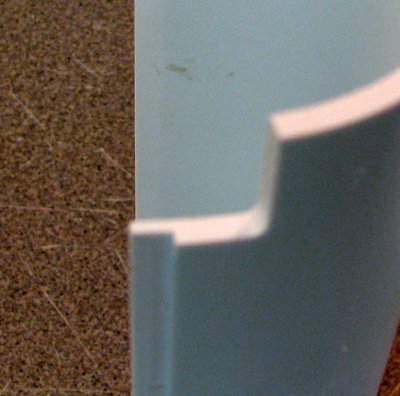
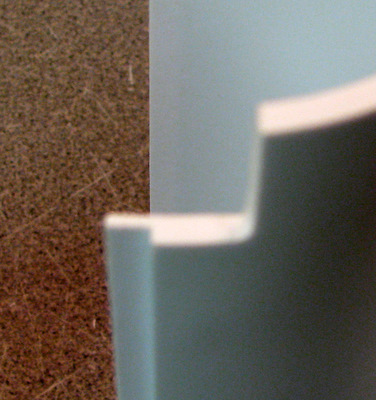
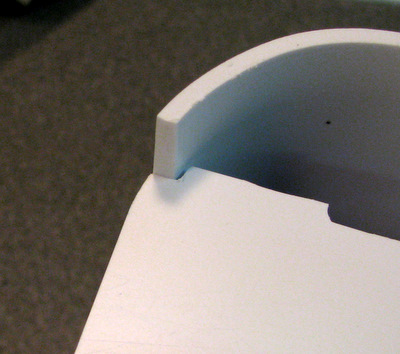
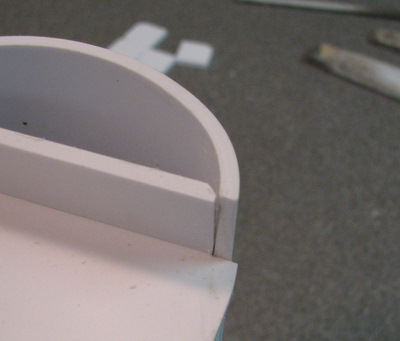
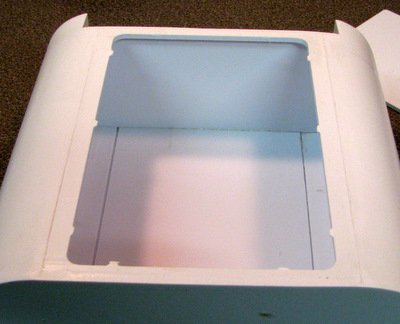
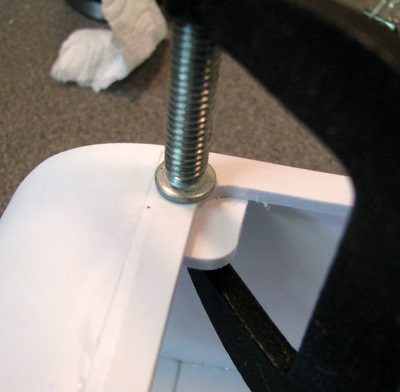
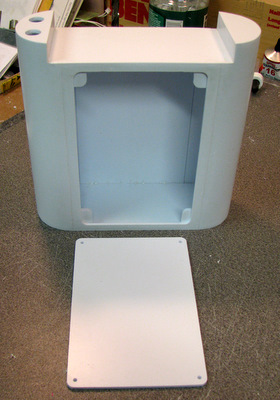
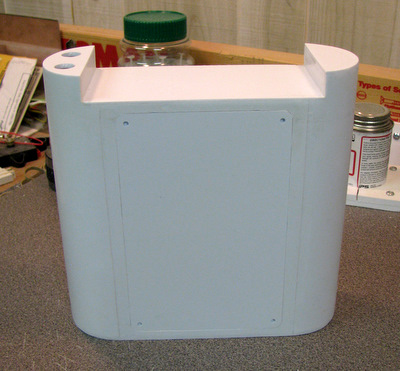
There are allways revisions during the prototype process | 
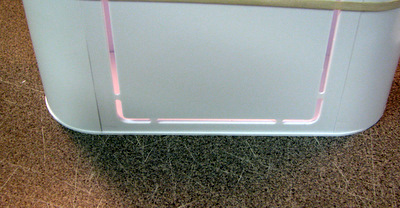
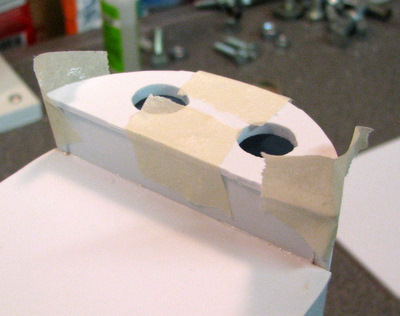
I added the lip on the edge that holds the plug part in place and changed the hole sizes to .5 inch |
A few spring clips, and a rubber band will hold the parts together |
Make sure the bottom edges are lined up |
The bottom and top pieces are oversize (by .0625) to accomodate slight mis-alignment in the curved ends. Translation: While I'm bending it to a form, the results are not necessarily perfect. They are, however, at least as good as any other method of construction in plastic. |
|
You can see here where the curved end is off just a little. |
|
The offset cut into the curved end piece is slightly off and will and to be fit by hand. |
A file with a 'dead' edge is handy since it only cuts on the 'live' edge you don't have to watch 2 edges at once. |
Before and after on the tab of the end plugs. |
If you place the end plug on top of the top curved end piece you can see how much material needs to be removed |
Leave a little for final fitting |
Sharpen up the corners of the slot in the top center piece |
|
Remove some of the edge on the curved ends. | Just a little, leave some for final fitting. |
start with the side panels and the curved ends |
File the bottom edge smooth and remove any excess glue. |
glue the bottom piece in place |
Make sure the top center piece fits tightly, but lays flush. |
Glue in place. Note the extra rubber bands to make sure the ends fit ok. |
Do any final fitting on the end plugs. |
Glue the end plugs in place (just the end plugs). We are using the end pieces to insure alignment not gluing them in (yet) |
|
Remove any excess glue that would keep the remaining end pieces from sitting flush and glue the end pieces in place. Remember that there's a Left and a Right Battery box. So when you assemble your 'other' one, reverse the position of the end pieces! |
Left: I found a woodworking vise convenient. |
|
Left : Once the flat surfaces are done move on to the curved ends. |
|
there may be a slight step where the curved and flat sections join. |
File that till it's flush. |
First, remove the scrap piece from the center Right: trim off the tabs |
|
There are 4 corner stops that are used to hold the door panel in place. Right: put a drop of glue on each one and clamp in place. Note the glue oozing out. |
|
Left: remove the excess glue or the door panel won't sit flush! |
|
Home |