The Eggcrate Frame Assembly

First step is to separate all of the parts from the sheets they were machined from, remove the tabs and flash, if any.

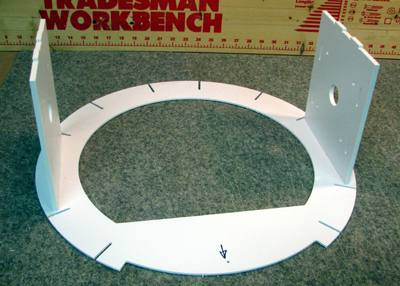
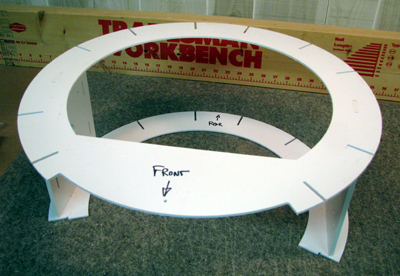
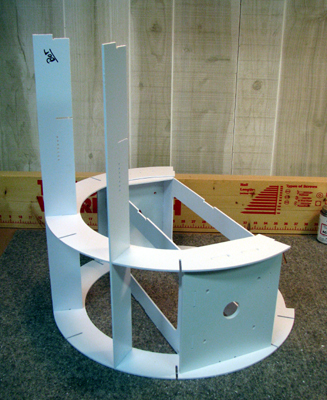
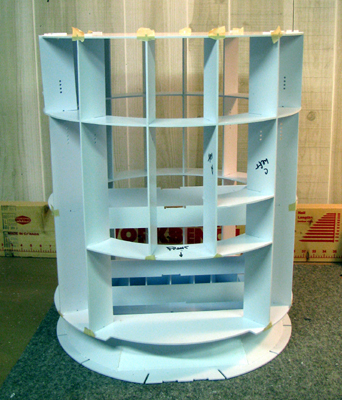
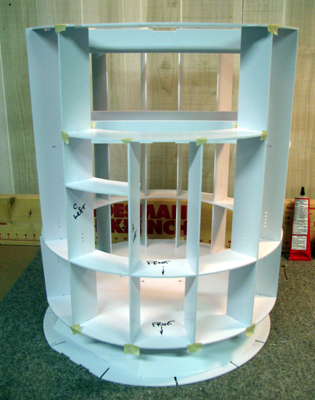
Rings 1,2,3 (in pieces), and 4 (from bottom to top)

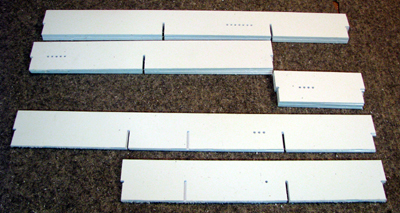
Ribs a, a-left, c, c-left, d, e, and g (from bottom to top)
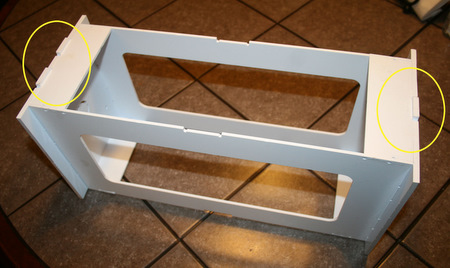
note that the a-left and c-left are the ones with the extra slots.

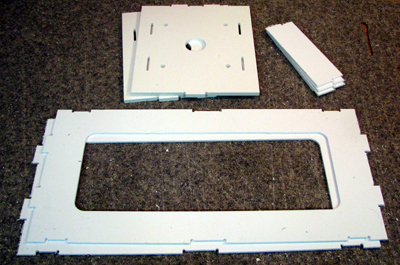
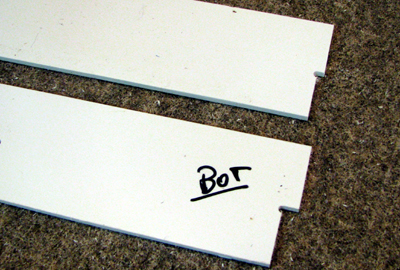
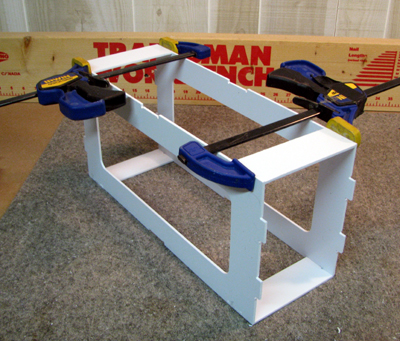
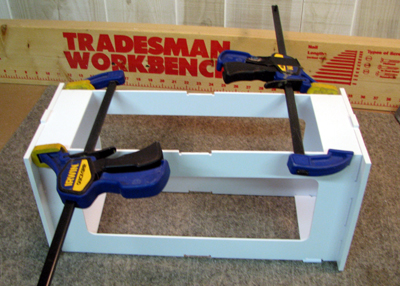
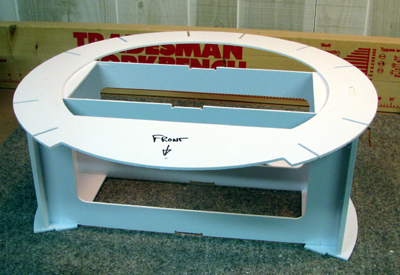
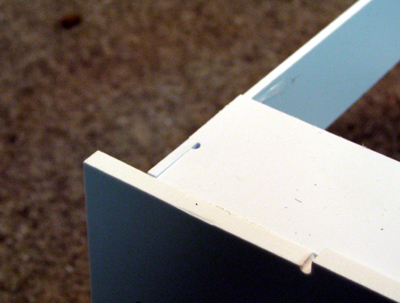
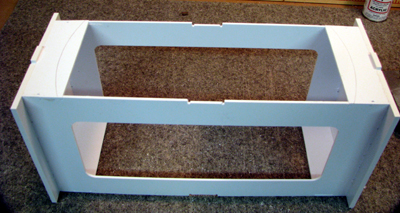
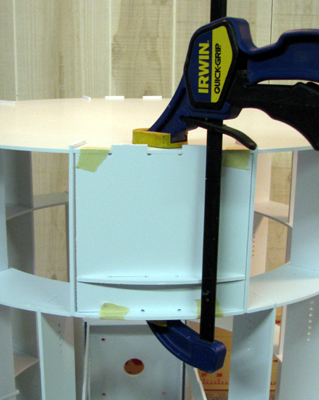
shoulder components. the end plates shown here are
.25 inch plastic but could just as easily have been
4 sheets of .125 inch plastic

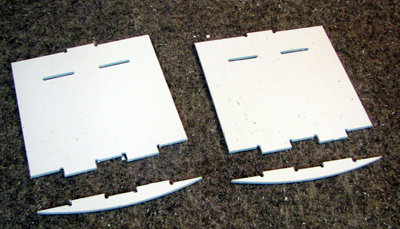
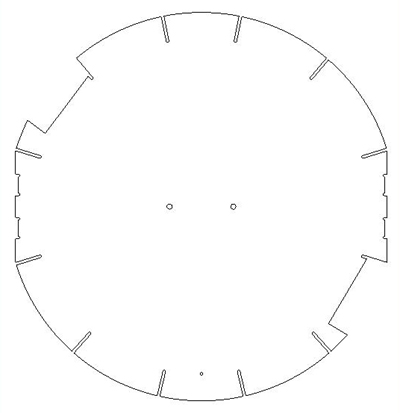
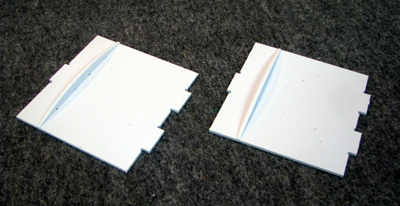
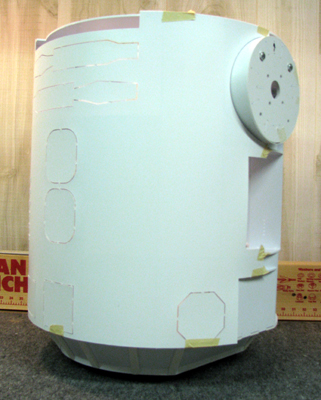
ankle plate and ankle slice

A couple of points to keep in mind about the parts

the slots in the  rings look symmetrical but they are not.
R2's panel spacing is different front to rear.
the rings have a locator hole that marks the front.
ring 3 is in 4 segments, the largest piece is at the rear.

the frame bottom is a pair of  .125 sheets of plastic. the
tabs on the ribs that go all the way to the bottom are
longer on the bottom.
Shown to the Left is Ring 1
When I finished the design for the Octagon Ports I added the notches to Ring 1 for mounting the Octagon Ports. Ring 0 (skirt bottom) goes below Ring 1 and provides the mounting surface.

Note that Ring 1, in addition to Front/Back orientation now has a Top/Bottom orientation. It is possible to turn it over and assemble the Frame but then the cutouts will be in the wrong places.

Be careful to note Top/Bottom for Ring 1 as well as Front/Back

test fit the shoulder plates in the ring 4(above) and
3 (right)
slots. they should be snug. enlarge the slots if
necessary so you don't have to force them in.
to familiarize youself with the parts and play with the fit
start by stacking  ring 2 on top of ring 1 using
the d ribs (the short ones) and then add a and c ribs
to the front.

Actual assembly starts with the shoulder hubs and the ankles.

assemble the frame members for the shoulder

then add the end plates.
Make sure the tabs on the end plates are both pointing
the same
directions!!
OK - now Really, Really, check Again!!!
You DONT want to do THIS!
once the glue sets it's impossible to get it apart!

glue the ankle slice into the ankle plates.

test fit the finished shoulder assembly with rings 3 and 4

If you have and alignment issues agter the glue has set file
down any high spots. you want a strong bond between the
shoulder assembly and the rings.


using the rings as guides mark the edges of the rings on
the shoulder assembly. use those lines as guides when
you apply glue. then clamp the rings in place while the
glue sets.

At this point, before starting to glue everything together, you should build up the frame so you have a good idea of how it goes together.
Using the shoulder and ring 3 and ring 4 assembly put together so far you can assemble most of the frame upside down.

start with the 4 g rings around the back. then add ring 2
supported by the c and c-left ribs in front. ring 1 can be
placed on top after most of the ribs are in place.


front view. since the frame is upside down, the a-left and
c-left ribs are on the right. use tape to keep the ribs in
place as you move the frame around.

tape the partial ribs both in front and in back to keep them
in place.

turn the frame over to make it easier to work on the
top ring/rib joints

Left: put the ankle inserts in place as part of the alignment process


Suggestion on Gluing/Assembly process.

Most rib/ring joints are cross joints. There are potentially 4 places
to put a bead of glue. The joints are about 2 inches deep.
Resist the temptation to put glue everywhere.
I've been using IPS Weldon 16 Cement (which I call glue).
Use just a few drops on just one of the 4 joint edges. Start with
the middle rings (rings 2 and 3) on the longer ribs where you've
got the ring 1 and ring 4 ends taped in position. The reason is simple. If something moves out of alignment it's relatively easy to sever the joint with a sharp knife.
Once all of the rib/ring joints are tacked in position and you've
inspected all of the joints (see next few images) and you are
happy that all the edges line up properly - then go back and
put a bead of glue on all of the joints! It will take two passes,
one for the joints on top, after which you let the glue set and
then you turn the frame over and then glue the joints that were
on the underside.

Congratulations, you've got a completed frame for your R2!


here's what mine looks like with the skirt attached
and a set of skins taped in place

the shoulder hubs were just bolted on for
 these pictures


Don't want to cut your own? You can try this parts source.


Home